The Poor mans Bench Power Supply
Recently Nick had a requirement to present his Electronics Course . He had to add MOSFETs and VMOS Trani’s to his course and needed more power supplies for his students to do their experiments
He thought of What Peter did to make a PSU for his 3D printers using a PC Power supply.
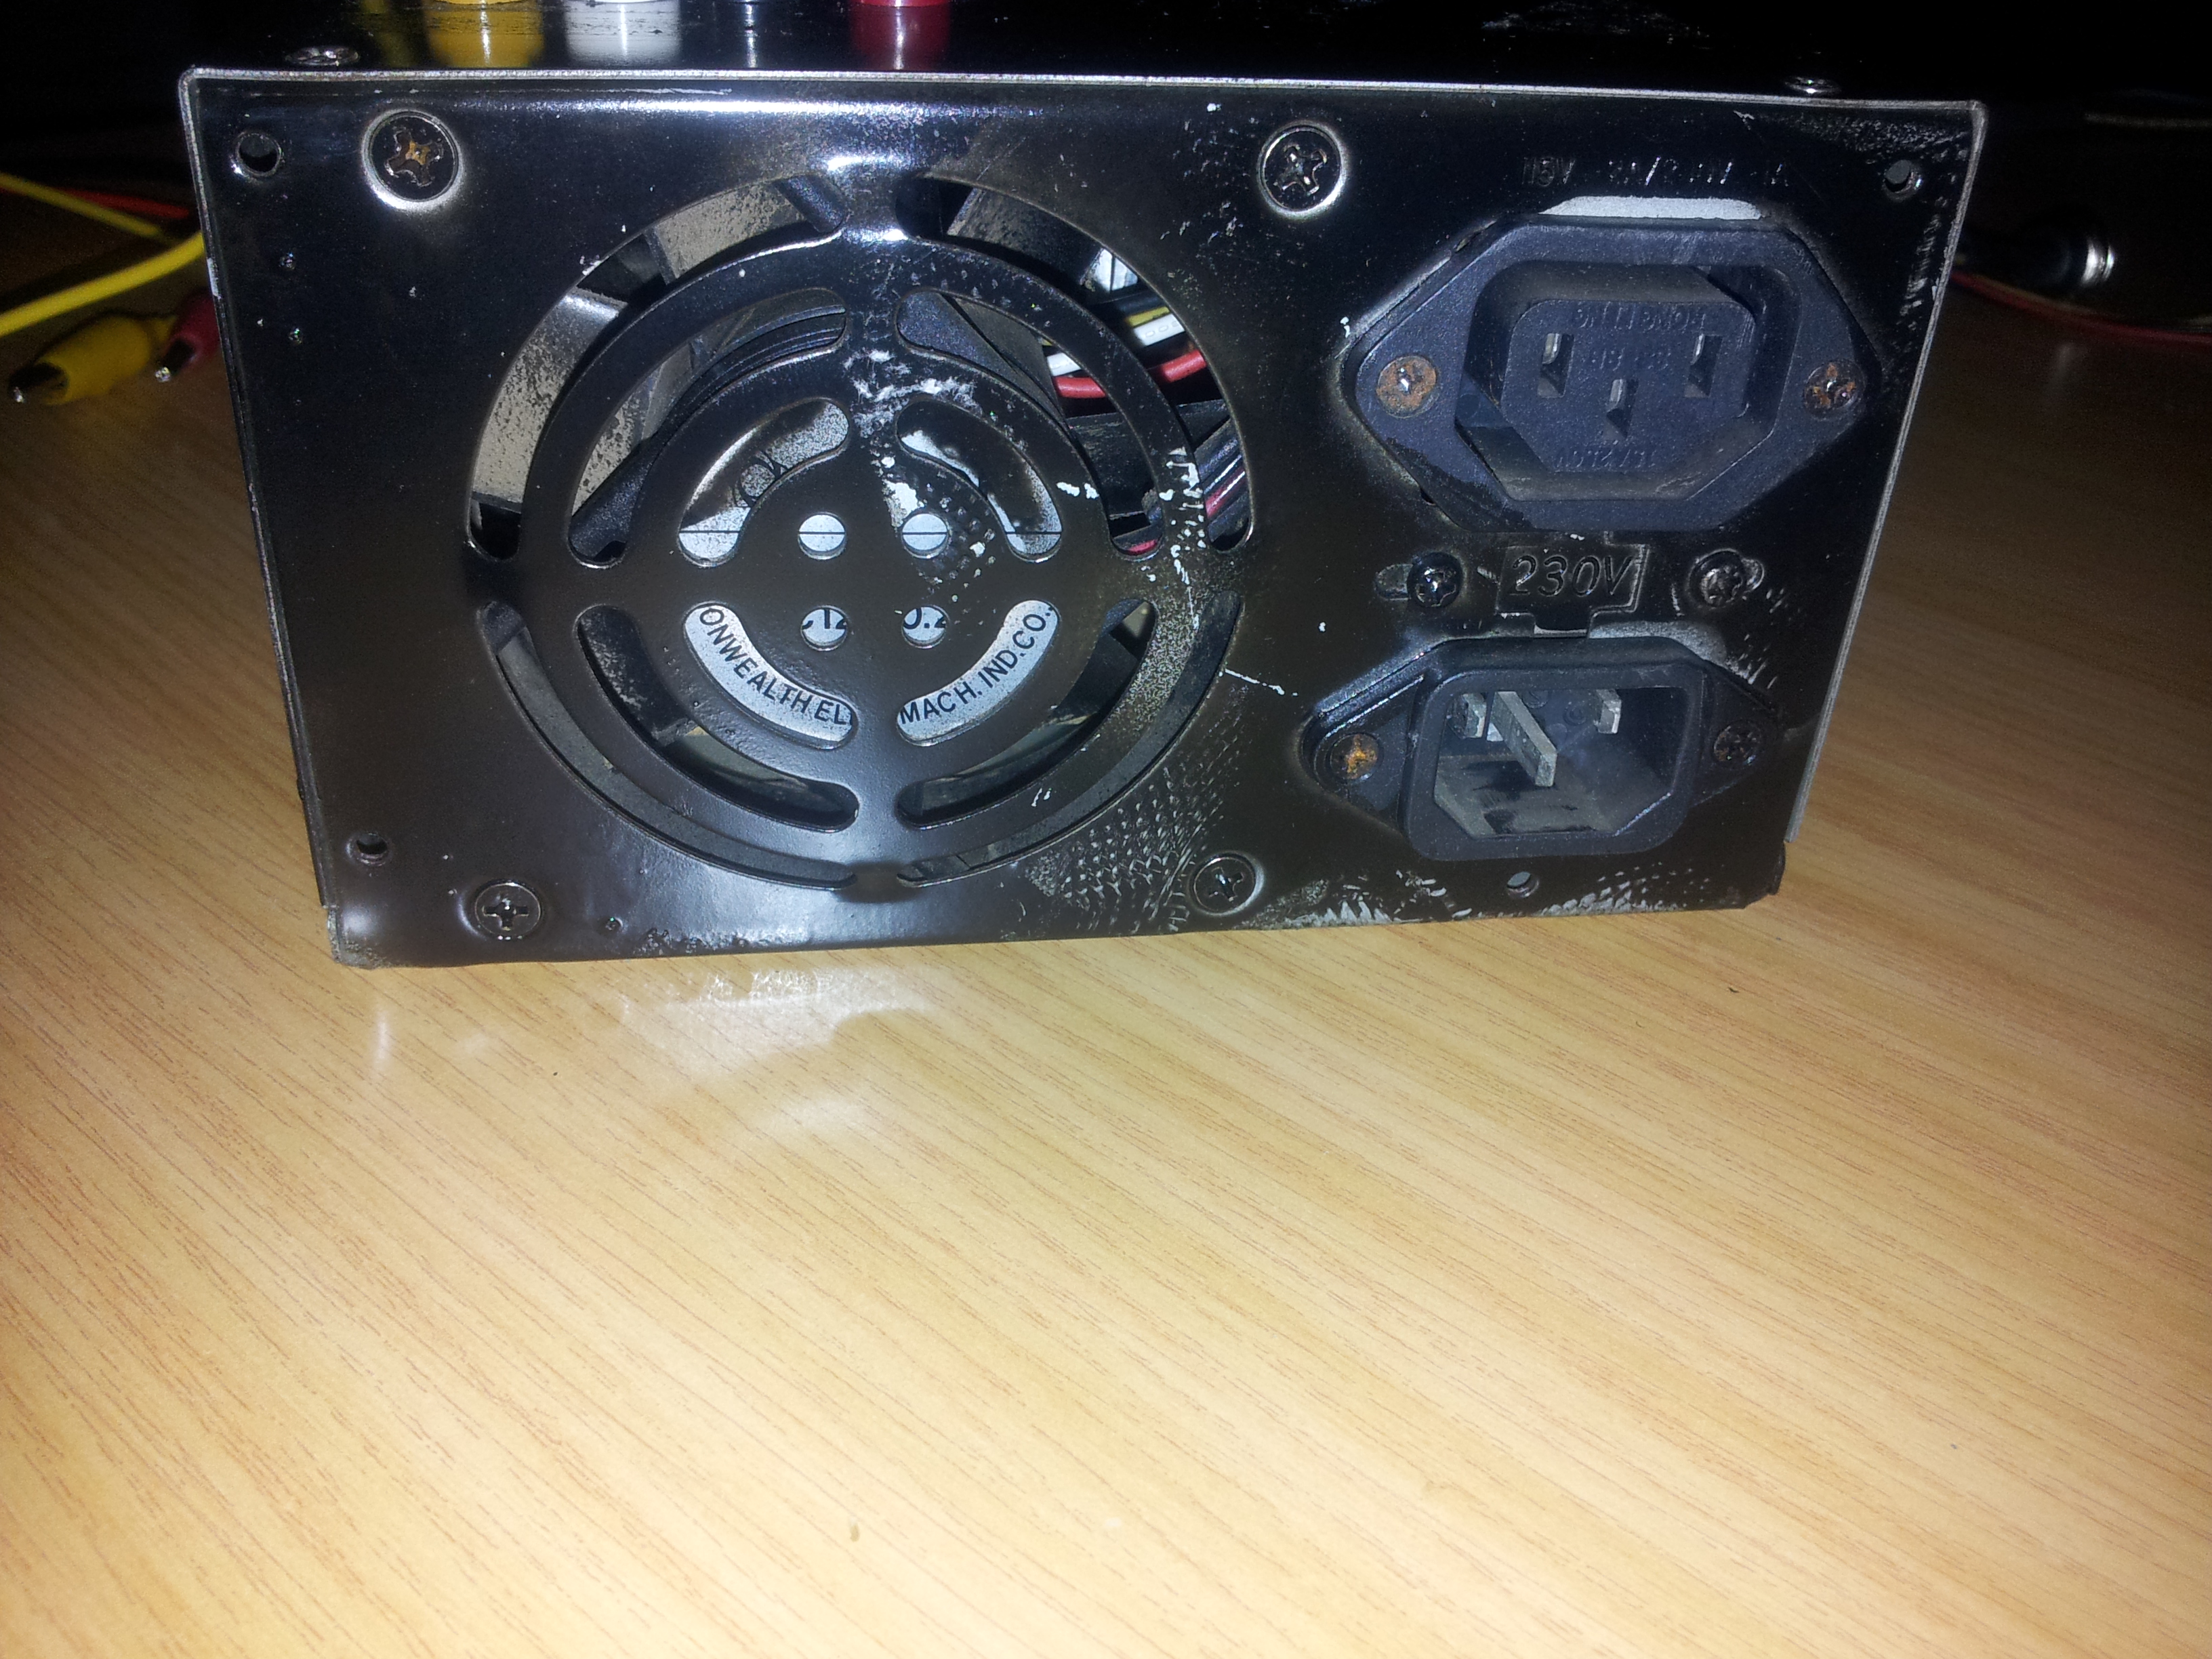
The older power supplies have their own On/off switch. The new ones (ATX PSU’s) need a switch between the Green Line and Ground (Black)
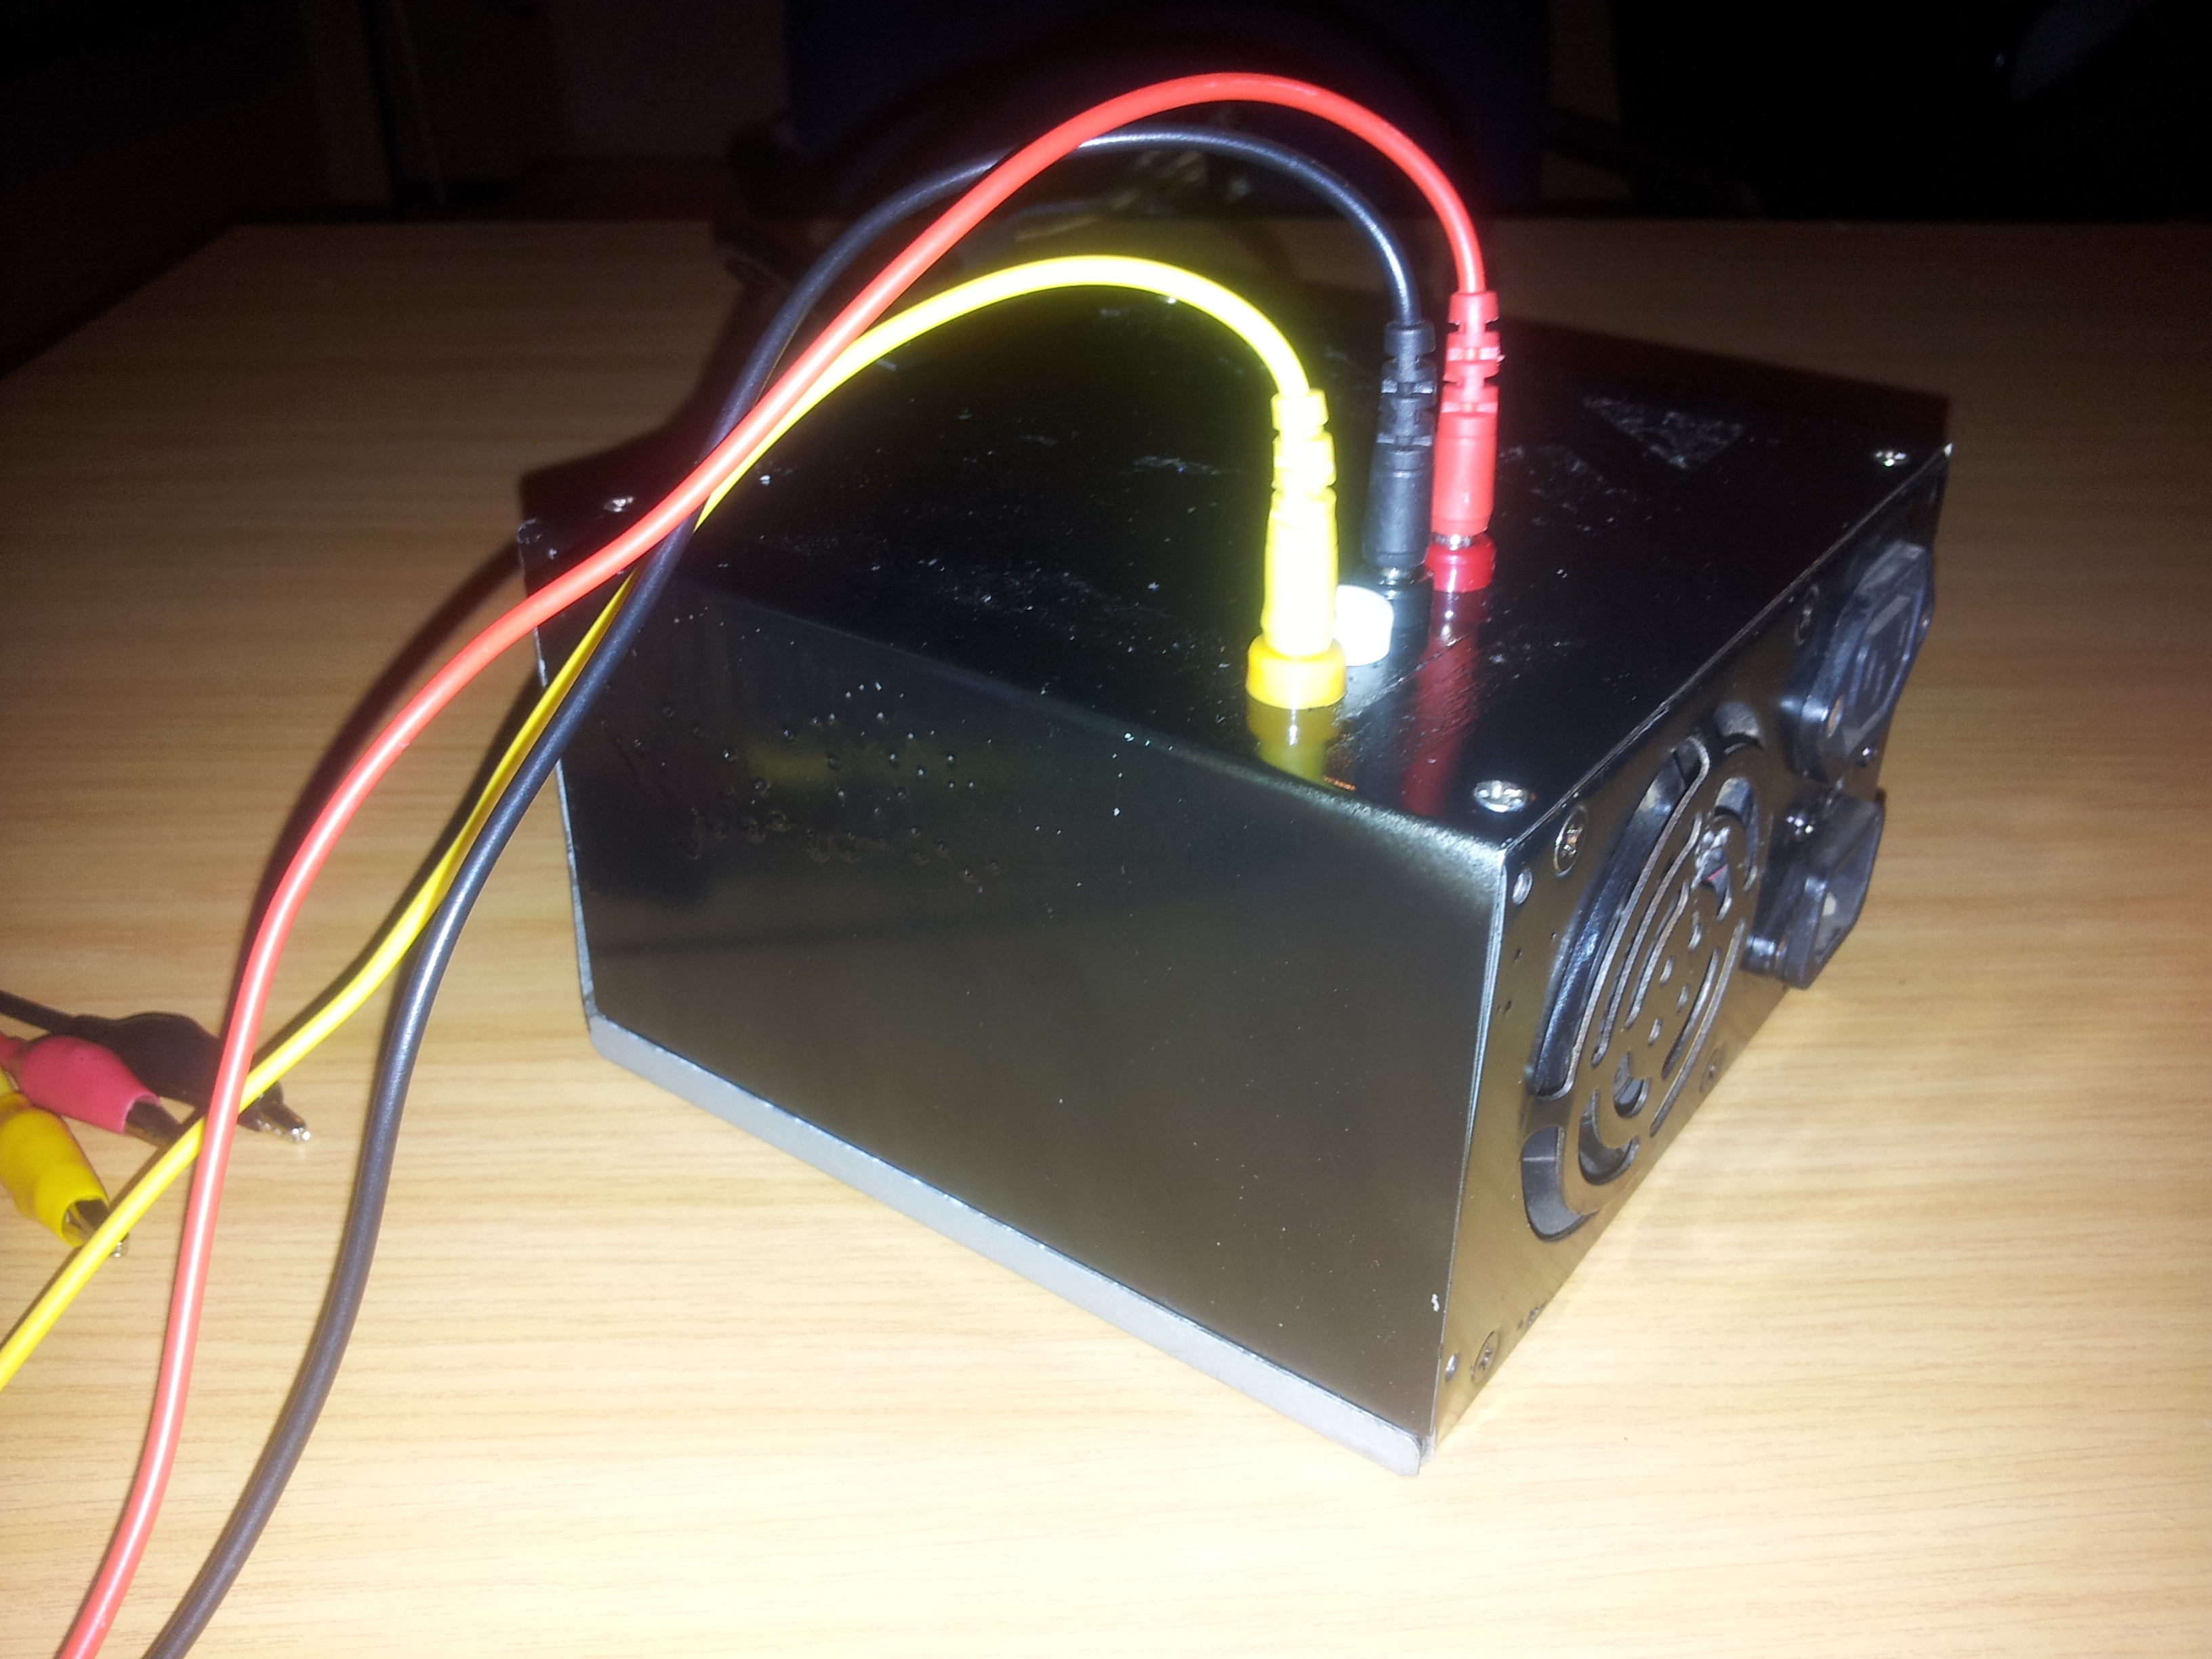
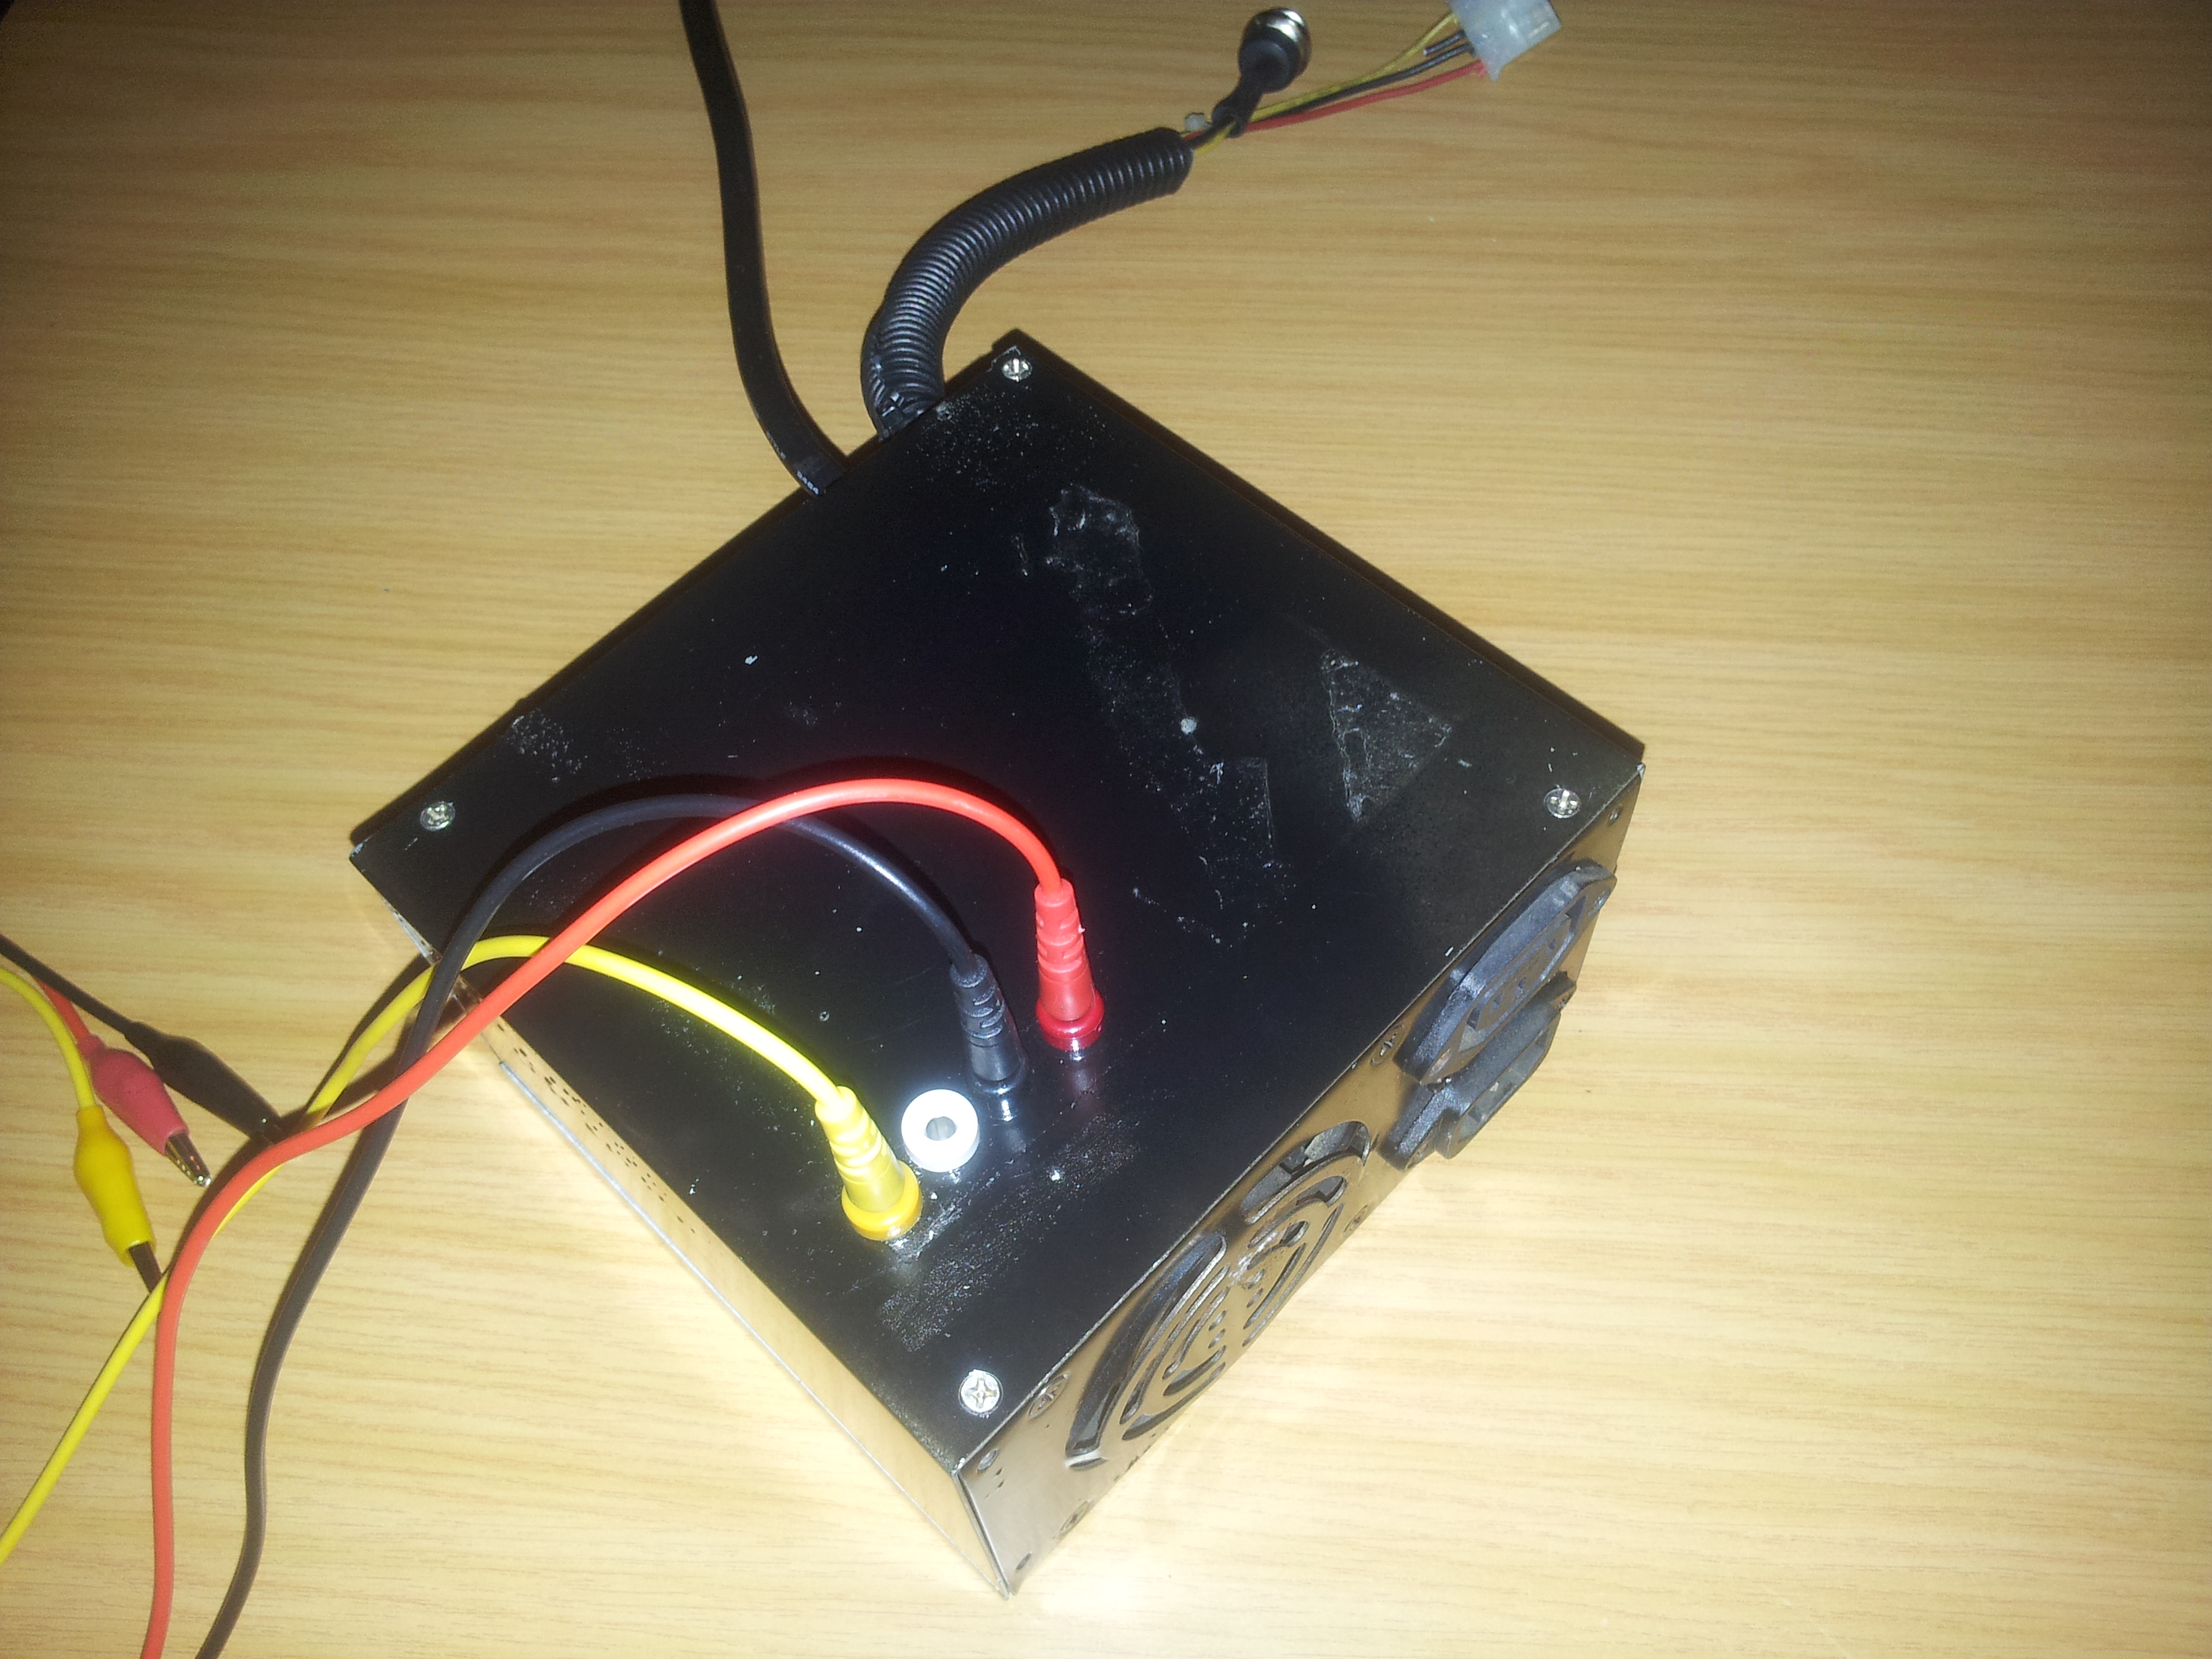
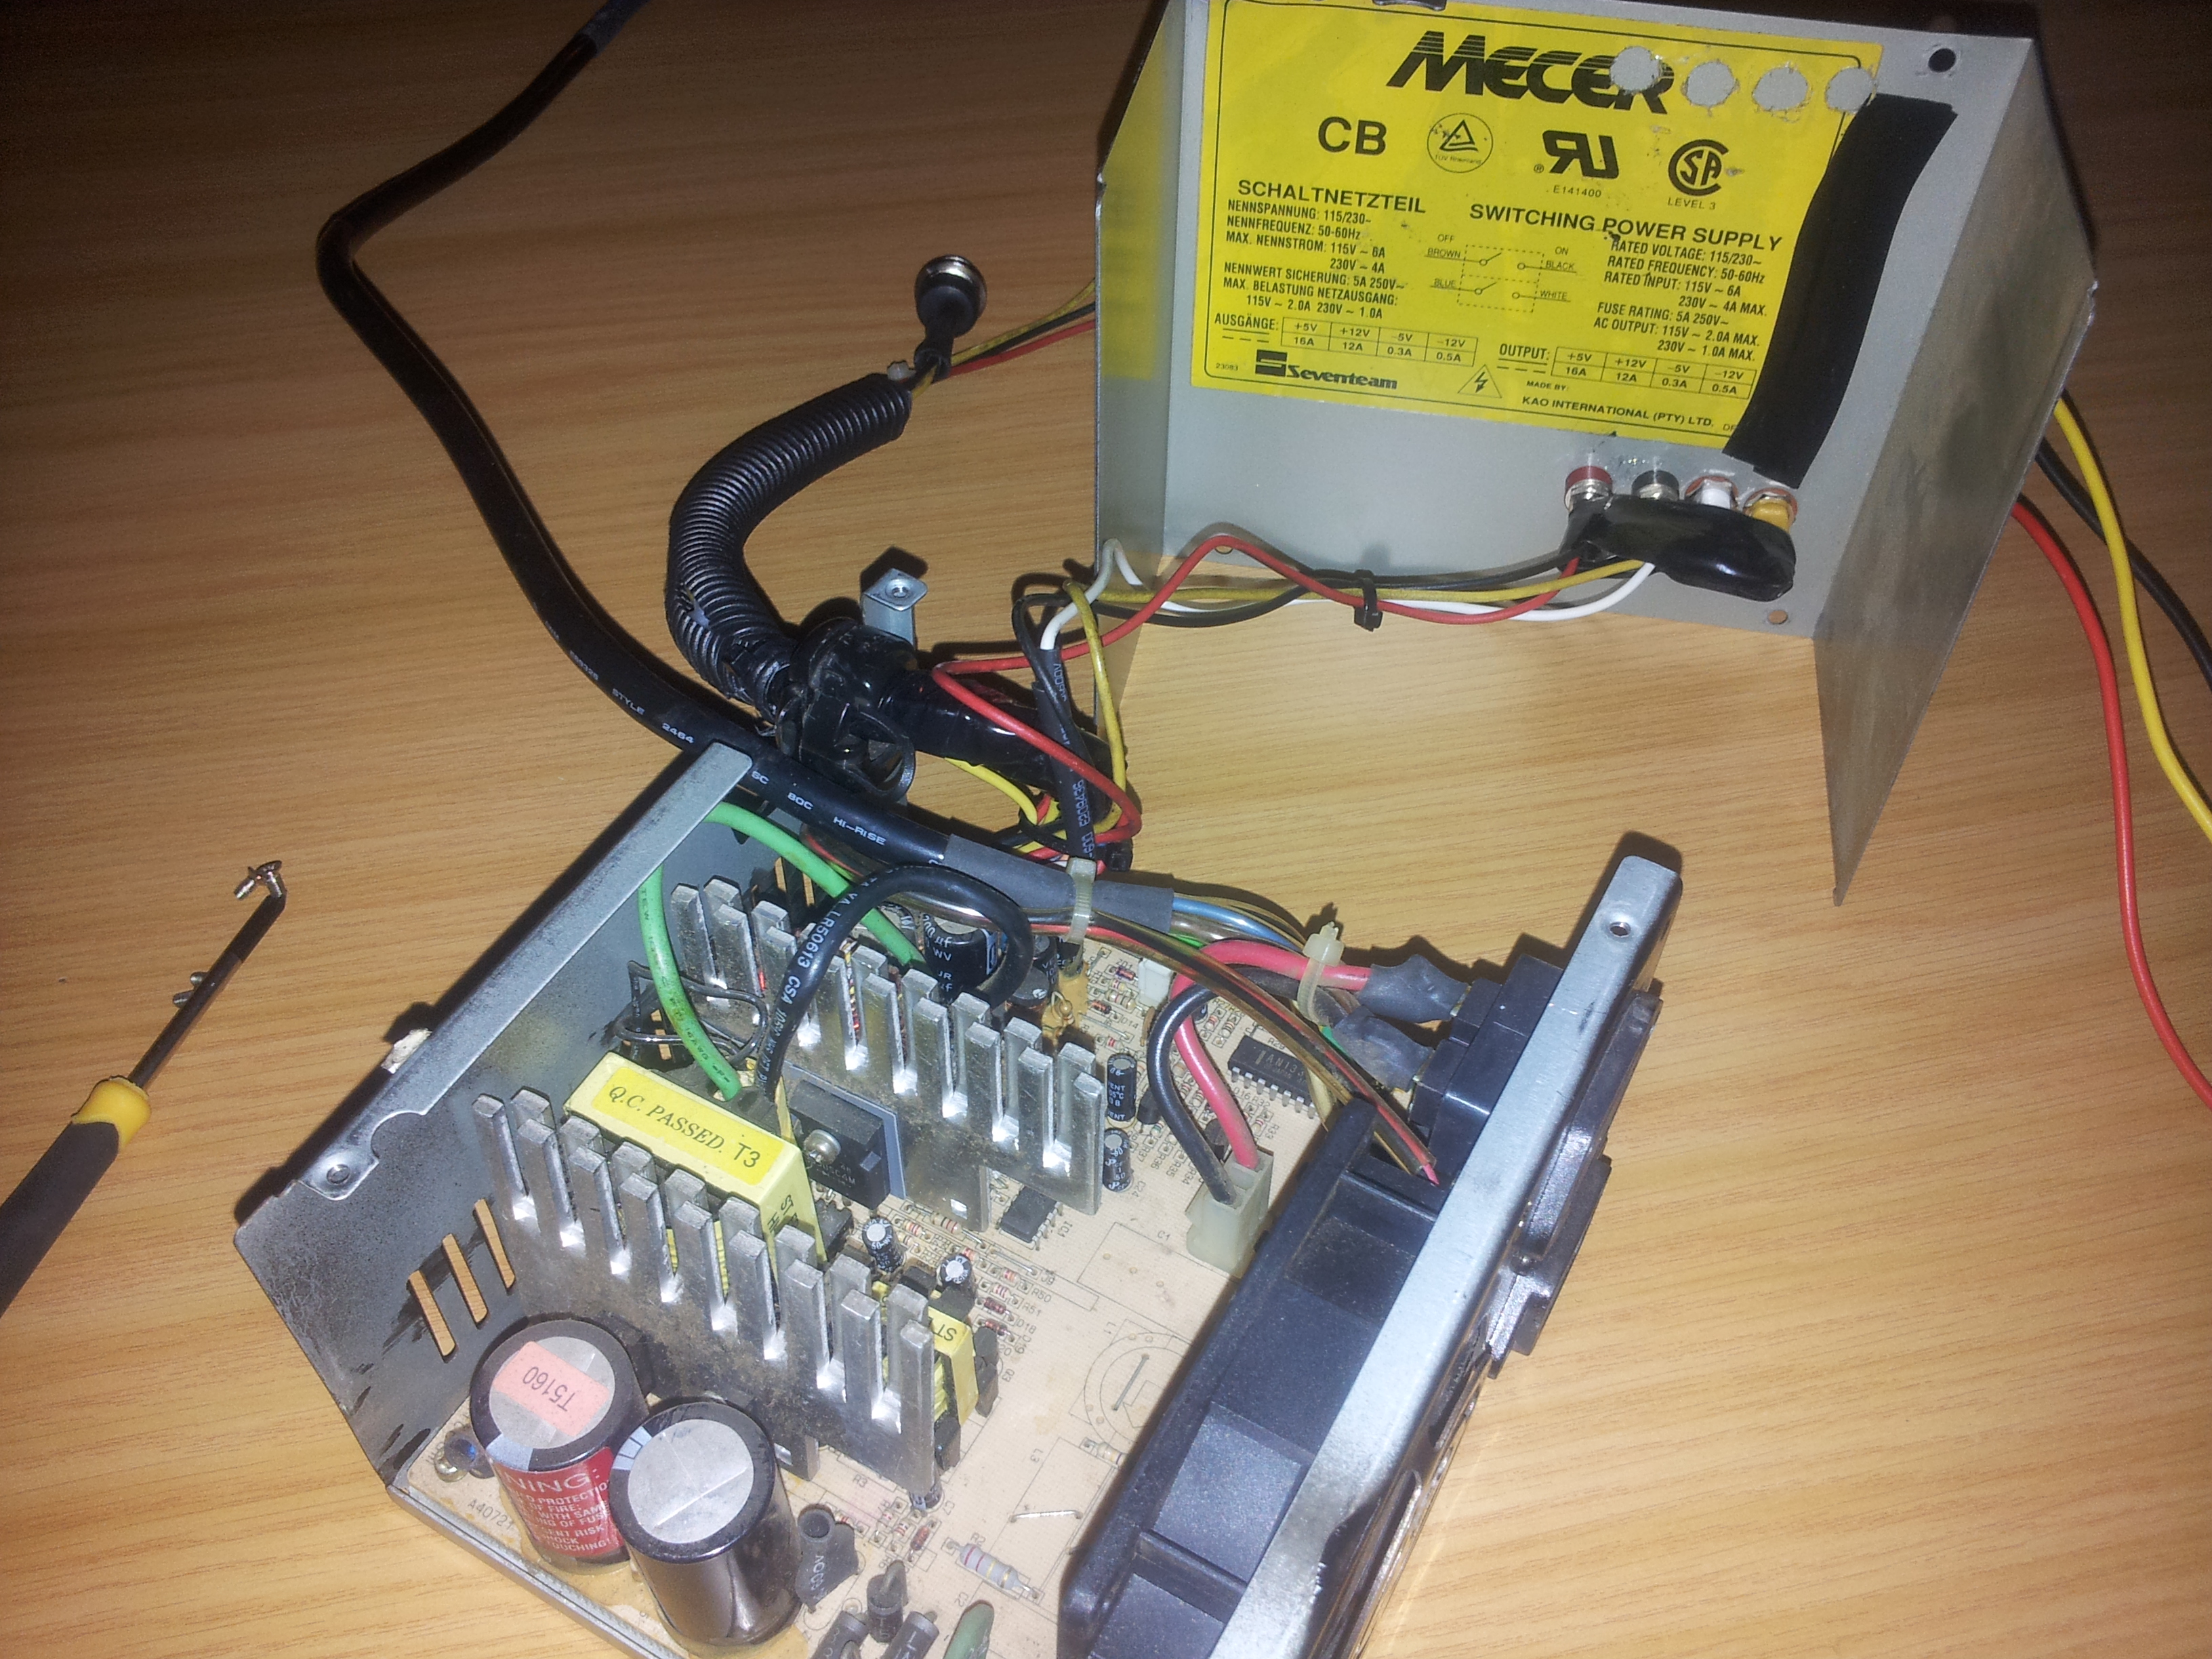
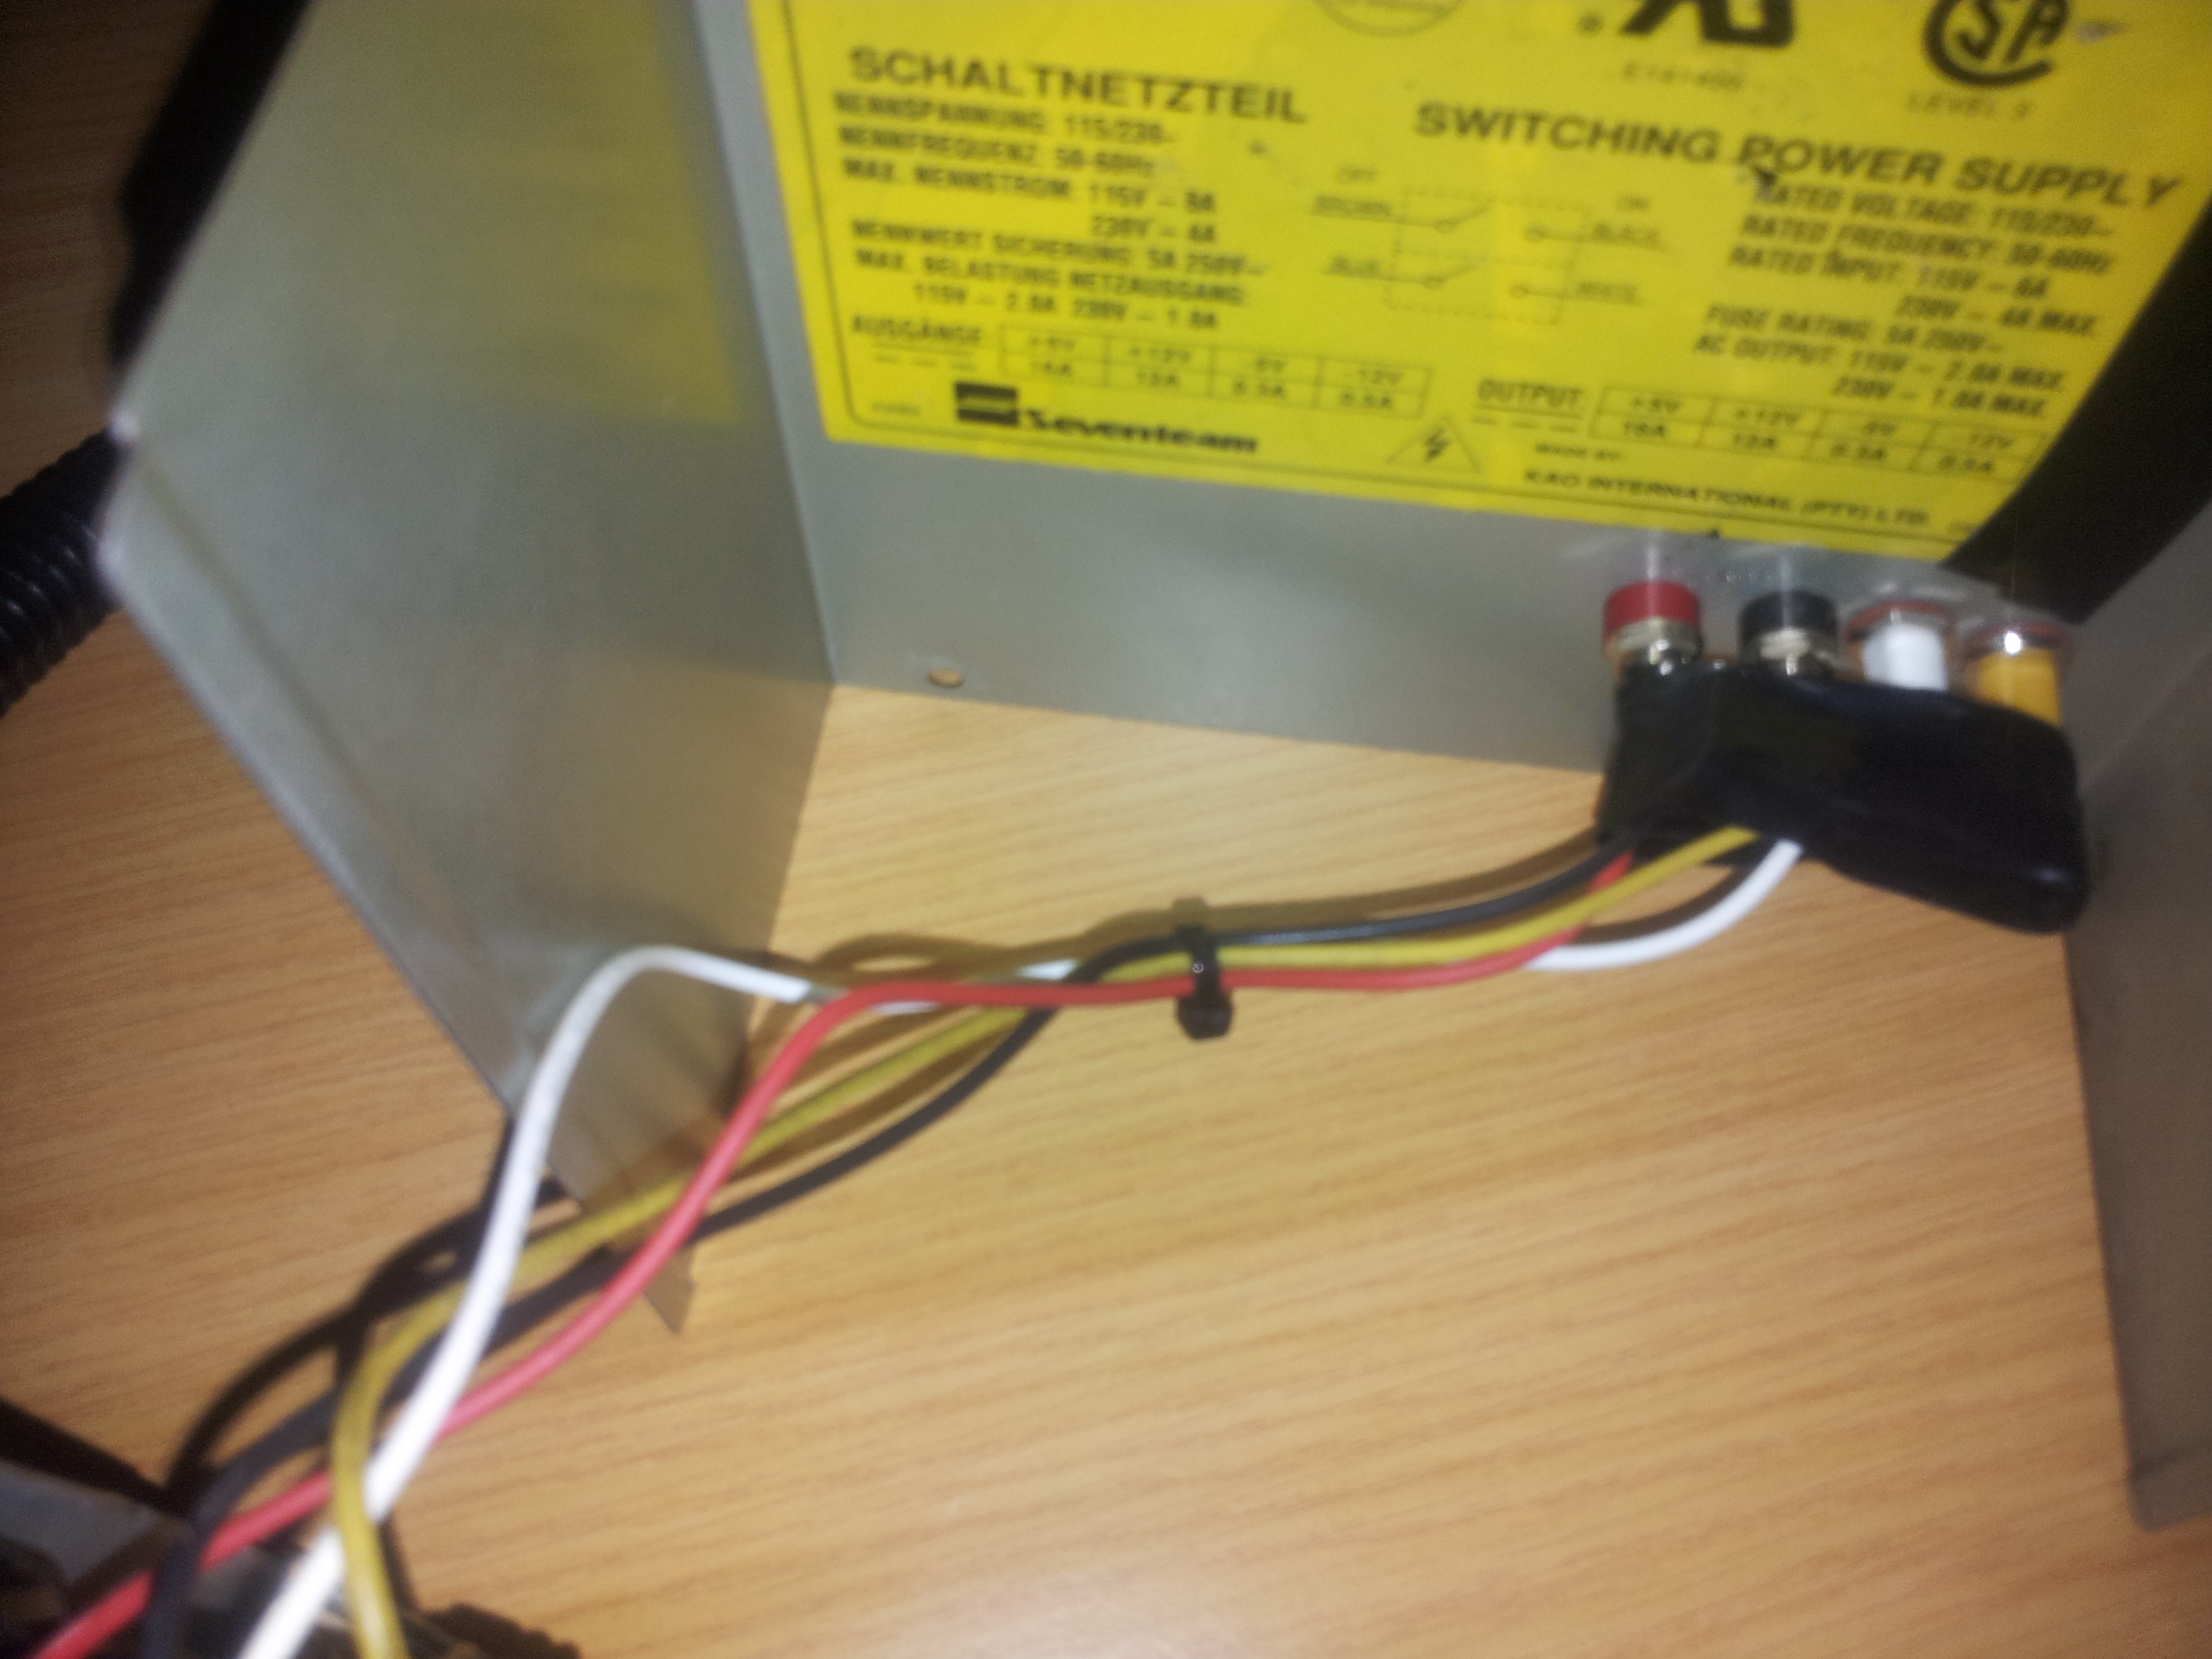
Drill holes on top of the case
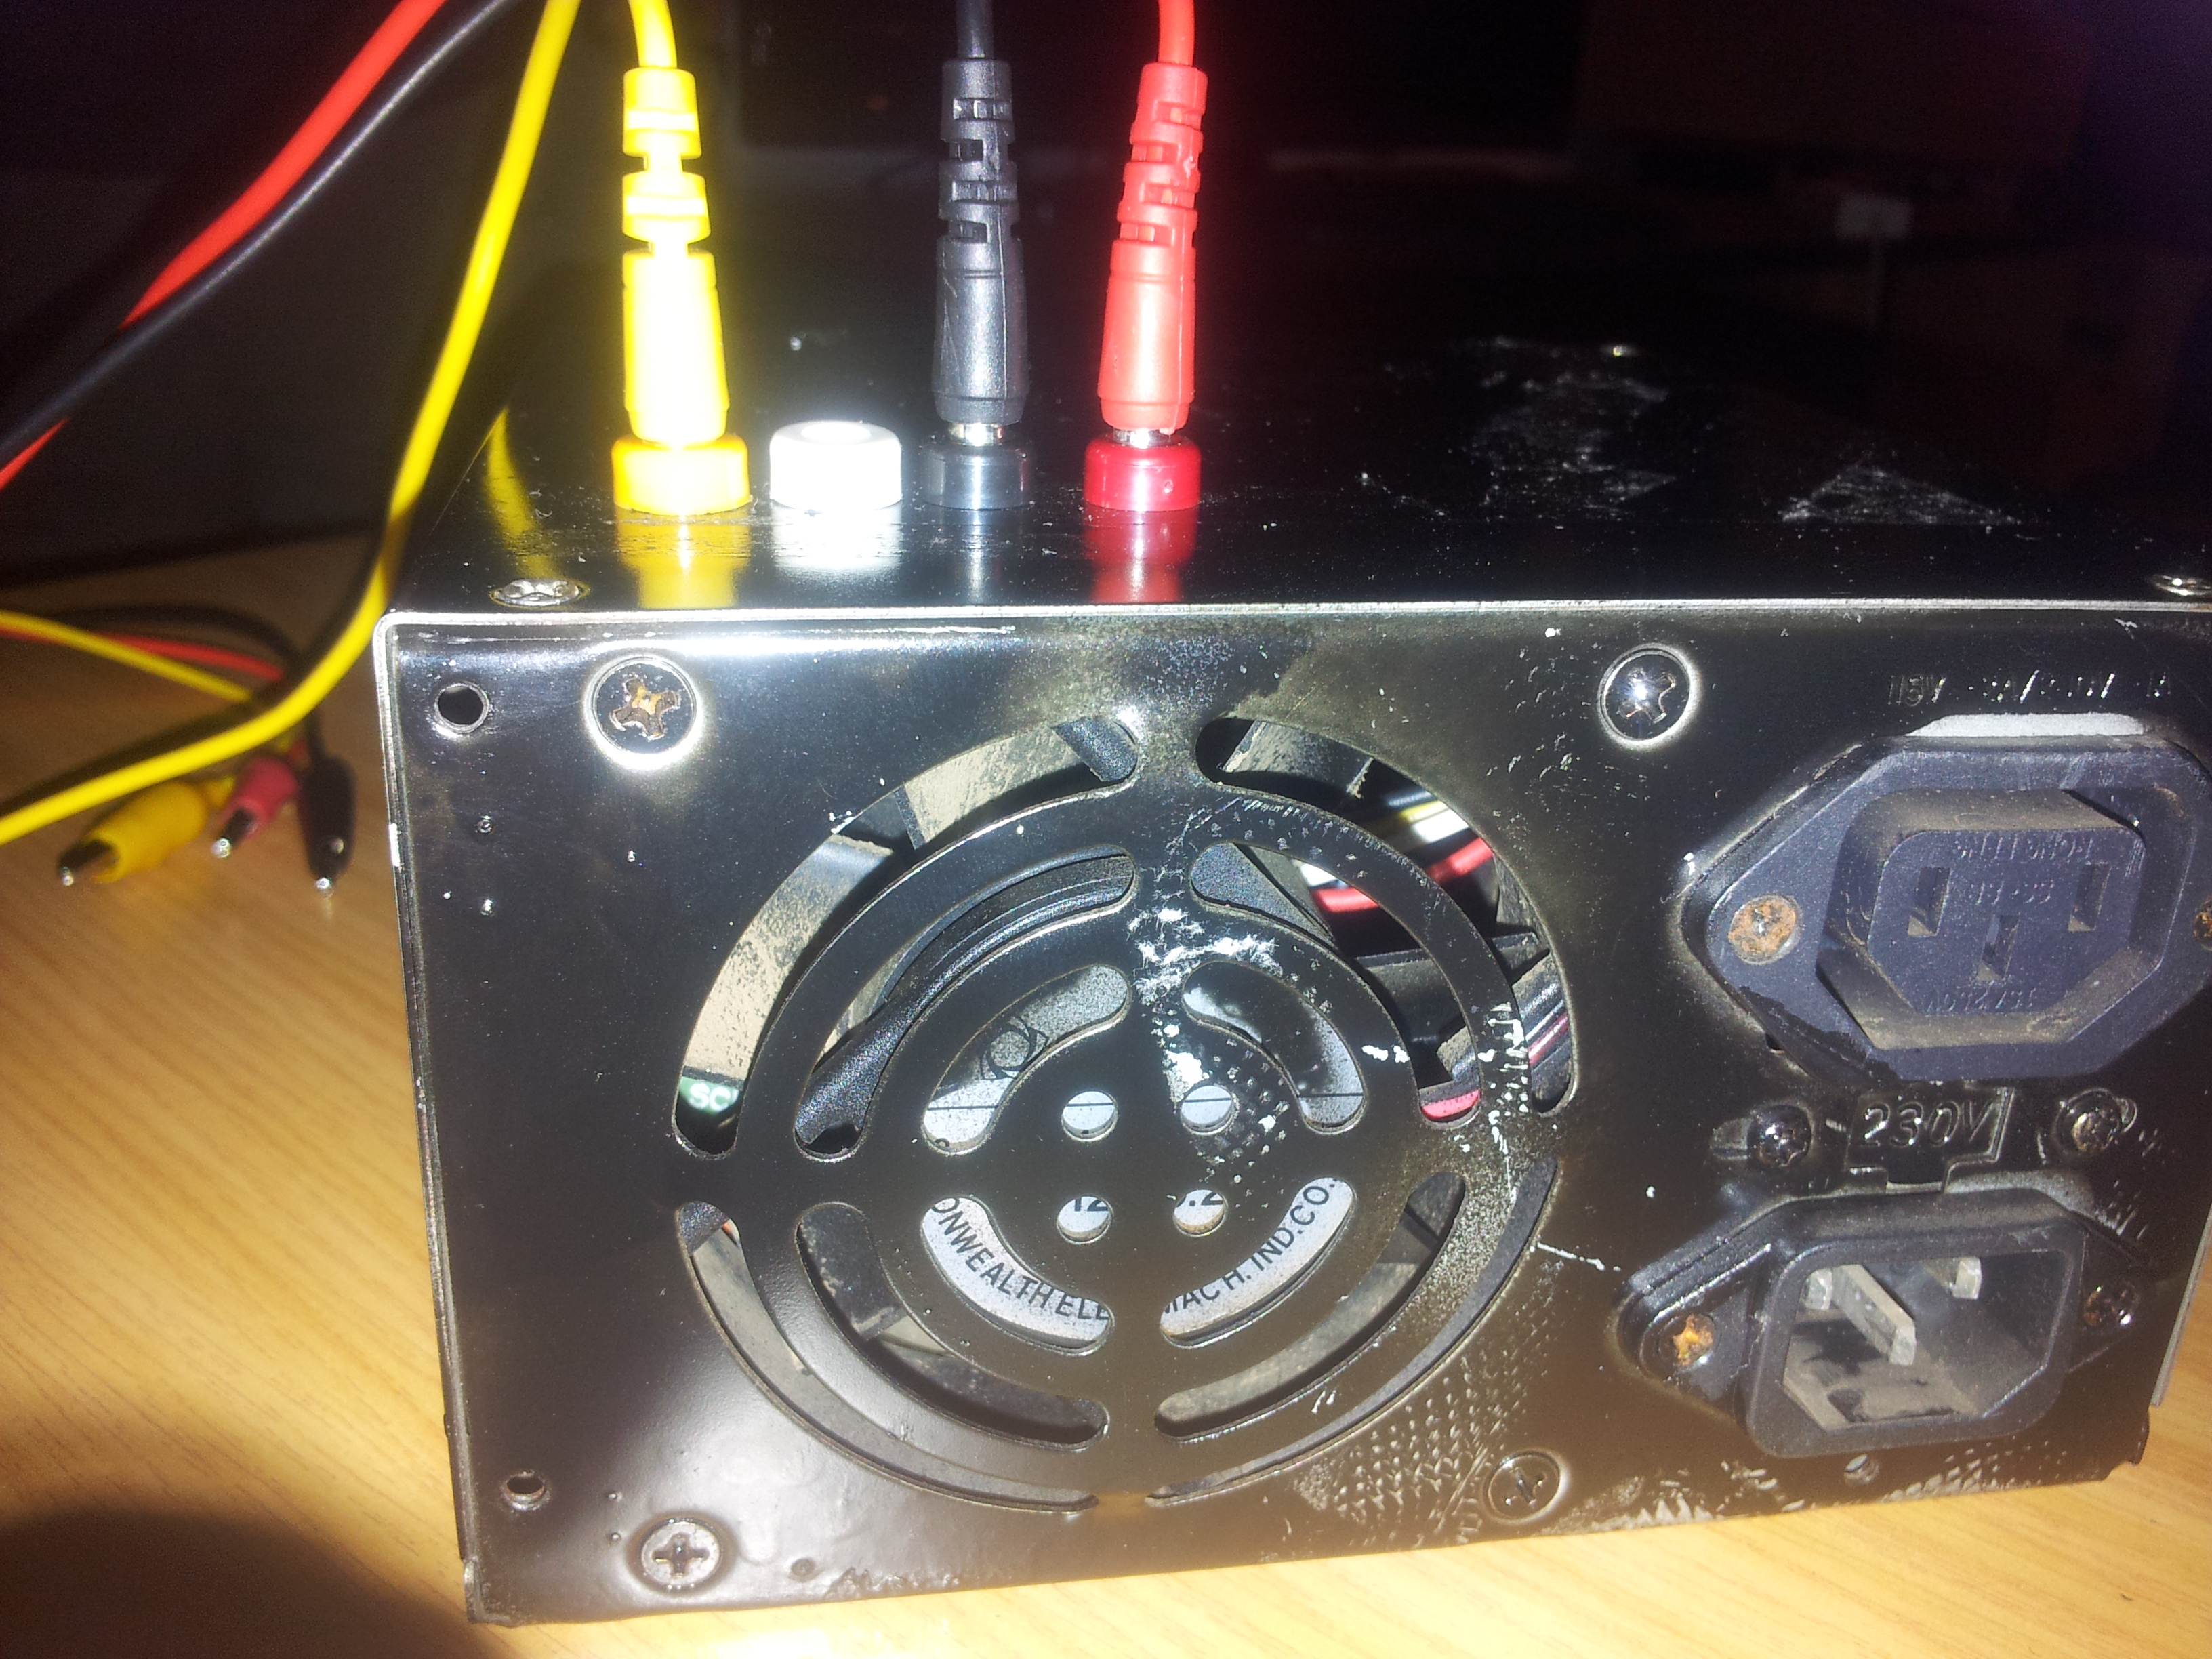
Black Banana socket connected to Black wire = GROUND
Red Banana socket connected to the Red wire = +5Volts
Yellow Banana socket connected to the Yellow wire = +12Volts
Blue Banana socket connected to the Blue wire = -12Volts
you may want to parallel some more of these wires of the same colours for more current
Add a Red LED with a 330 or 470R series resistor connected between the Grey wire and ground (Black wire)
Don’t forget to insert chassis mounted fuse holder in series with all the above sockets
This gives you a 5V 30A and 12V 15A depending on the PSU you use.
Nick suggests that you use 3A or 5A fuses to prevent frying your circuits
After he made his poor mans bench power supply he found they are very popular on the Internet!
Here are some photos of the modification and the final product:
Recently Nick had a requirement to present his Electronics Course . He had to add MOSFETs and VMOS Trani’s to his course and needed more power supplies for his students to do their experiments He thought of What Peter did to make a PSU for his 3D printers using a PC Power supply. The older power supplies have…
Comments
Leave a Reply
You must be logged in to post a comment.
Or you could make a PSU “breakout”. When you blow this one you can just plug in a new/old PSU. See here
https://forum.sparkfun.com/viewtopic.php?p=79395